Creating an Issue
Last updated: October 2, 2026
OverlayQA lets you annotate any element on a live page to create an issue with full technical context. Click or drag on the page to place a pin, describe the problem, and optionally let AI draft the issue details for you.
Enter Annotation Mode
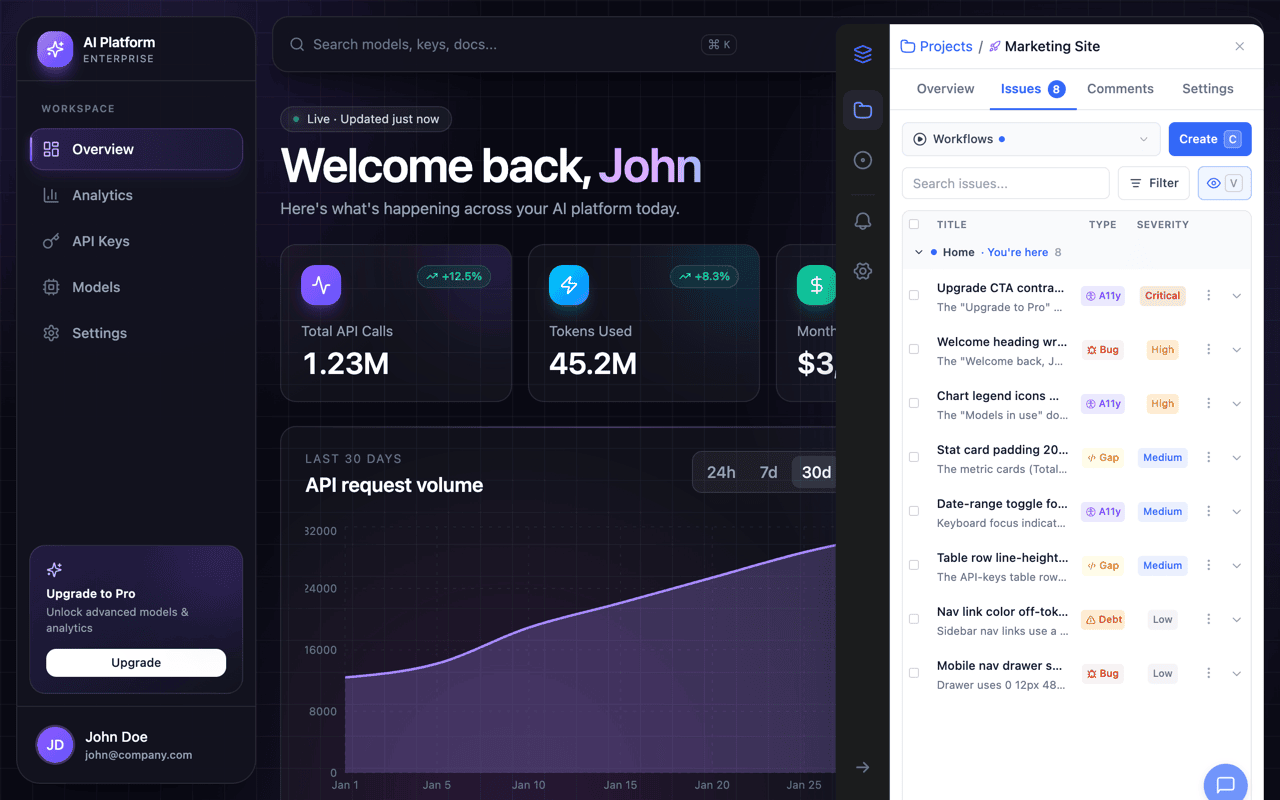
Open the OverlayQA sidebar and click Create Issue (or the annotation button in the toolbar). You can also press C to jump straight into issue creation without clicking. The page enters annotation mode: your cursor changes and a full-page screenshot is automatically captured in the background for reference.
Place a Pin
There are two ways to mark the element you want to report:
Screenshot Pin (Click and Drag)
Click and drag on the page to draw a selection area. This creates a screenshot pin that captures a cropped screenshot of the selected region. Use this when you want to highlight a specific visual area, such as misaligned spacing or a color mismatch. Press S to toggle screenshot mode on or off.
Element Pin (Click)
Click on any element without dragging. This creates an element pin anchored to that DOM element. OverlayQA automatically captures the element's CSS selector, tag name, classes, and computed styles (font size, color, padding, margin, background color, border radius, and more).
Fill in Issue Details
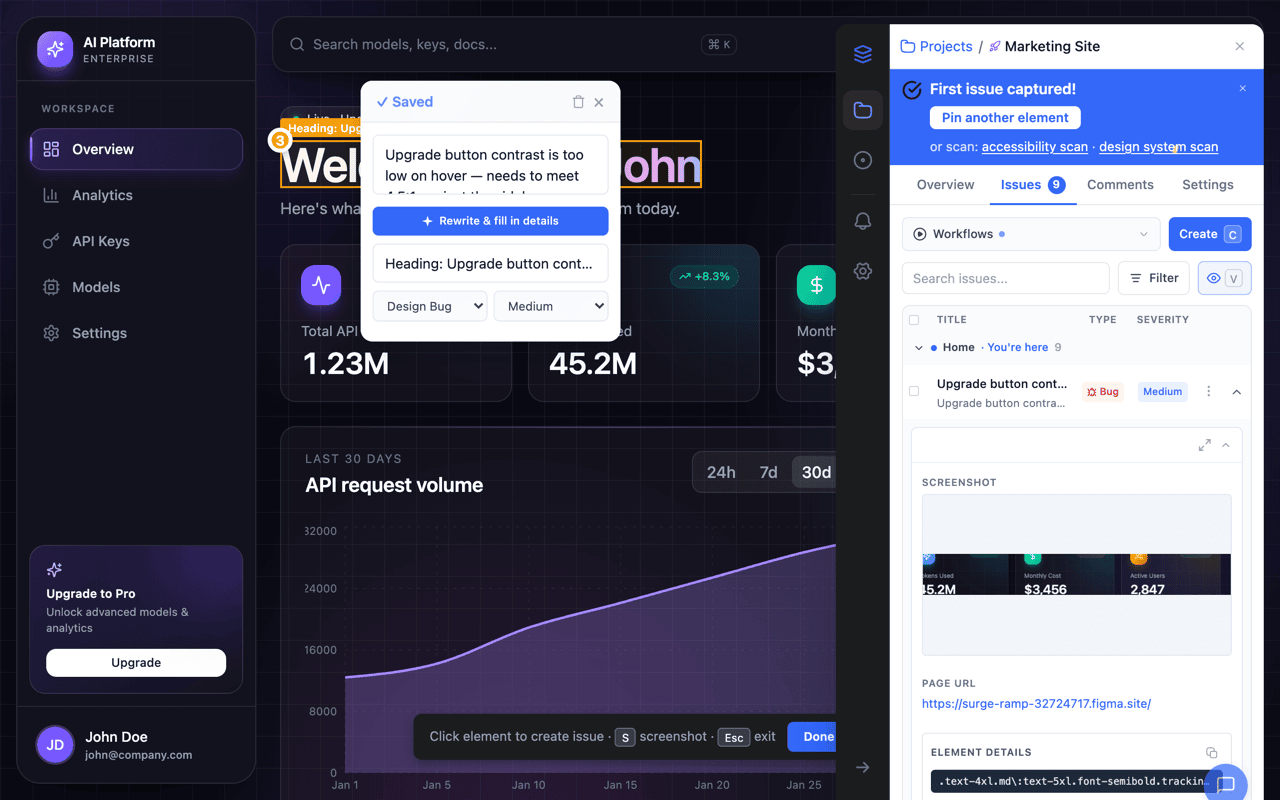
After placing a pin, a popover opens with the issue form. The main text box reads Add a comment; under it, Add emoji opens an emoji picker and Add files attaches PNG, JPG, or PDF files (up to 10 files and 10 MB), with files unlocking once the capture has saved. Fill in the following fields:
| Field | Details |
|---|---|
| Description | Describe the issue. This is the primary field: write what's wrong and AI will suggest the rest. |
| Title | A short name for the issue. If you leave this blank, OverlayQA generates one from your description. |
| Type | Choose Bug, Mismatch, Improvement, or General. Each shows a one-line description under the picker. |
| Severity | Choose Critical, High, Medium, or Low. |
| Assignee | Defaults to you, so a capture is never orphaned. Pick a teammate or clear it to Unassigned. |
| Labels | Apply one or more workspace labels. Start typing to search the library, or create a new label in place. See Labels, Assignees, and Filters. |
AI Issue Drafting
AI drafting is opt-in and never runs while you type. Write a short description (at least 10 characters), then click Rewrite & fill in details. The AI analyzes the captured element and your description, then suggests a title, type, severity, and expanded description. Click Apply All to accept the suggestions, or keep editing manually. On your first capture, if the description is still empty, the button reads Write the issue for me and drafts the issue from the element alone.
The AI uses two models depending on what's available:
- Visual analysis: When a screenshot is captured, the AI can see the element and its surroundings to identify visual issues like misalignment, color drift, and spacing problems.
- Text-only analysis: When only a description is provided (no screenshot), the AI generates structured issue details from your text.
Tip: AI suggestions work best with element pins, since the AI can analyze the element's visual appearance and CSS properties alongside your description. The visual model catches issues that text alone can't describe.
Auto-Save
Issues auto-save as you edit. After the initial save, any changes to the title, description, type, or severity are saved automatically with a short delay. You'll see a "Saved" indicator in the popover header when changes are persisted.
What Gets Captured
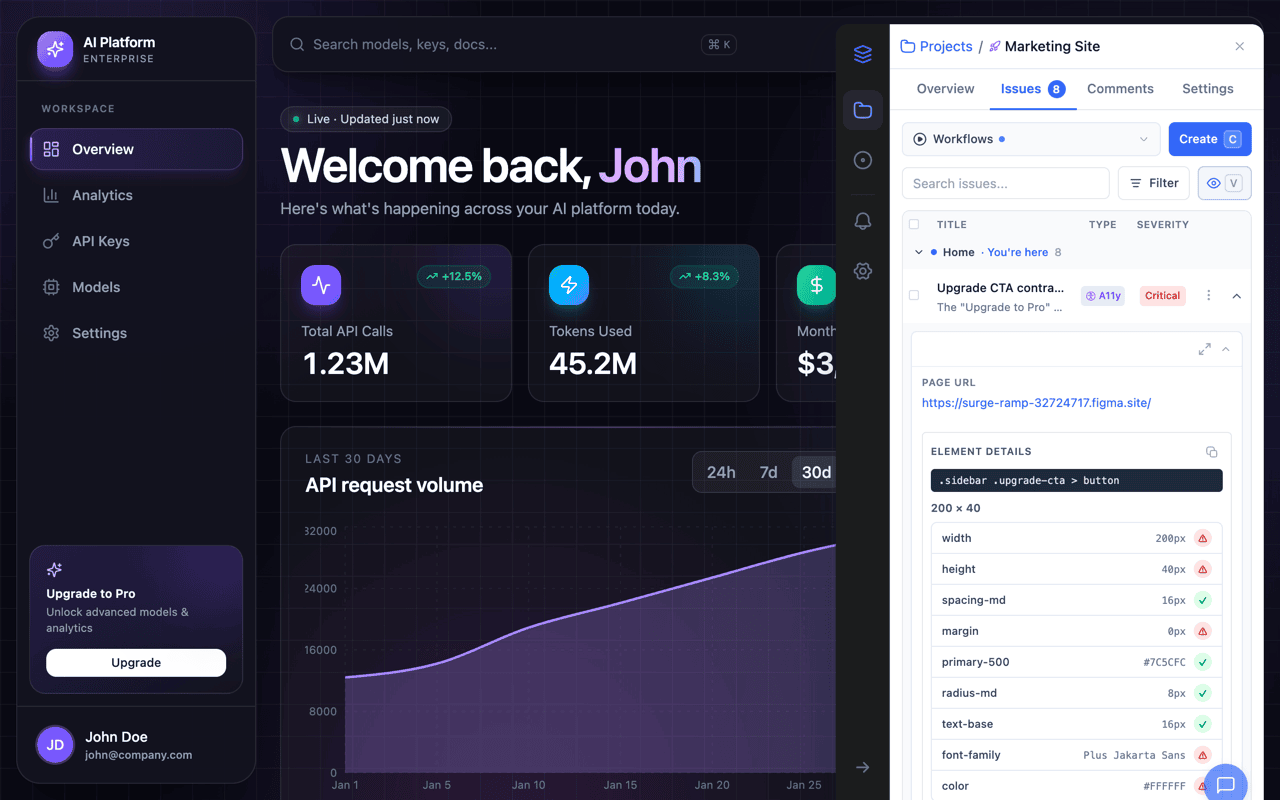
Every issue automatically includes technical context that your team needs to reproduce and fix the problem:
- Screenshot: Cropped to the selected area or element.
- CSS selector: The element's unique selector path.
- Computed CSS values: Width, height, padding, margin, gap, background color, border radius, font size, font family, and color.
- Page URL: The exact page where the issue was found.
- Viewport dimensions: Browser window size at the time of capture.
- Browser and OS: Chrome version and operating system.
- Figma frame link: If a Figma frame is linked to the project.
- Element design metadata: Extracted layout and styling properties for the pinned element.
Issue IDs and Badges
Every issue gets a human-readable ID (e.g., OQ-127) that's sequential within each project. You can use this ID in URLs, slash commands, and exports to reference issues quickly.
Issues captured from local development servers or staging URLs automatically receive an environment badge (LOCAL or STAGING) so your team can tell at a glance whether an issue was found in development or production.
Assign, Ignore, and Filter Issues
- Assign: pick a teammate from the Assignee field on any issue, or choose Unassigned. It works the same in the dashboard, the extension, and Team Review, and the dashboard issues table lets you assign straight from the row.
- Ignore: choose Ignore from an issue's menu, or on several issues at once, for findings you have decided not to fix. Ignored issues stay in the list, greyed out and sorted last, and drop out of your open and resolved counts. Un-ignore brings one back.
- Filter by creator: the Created by filter, beside the assignee filter, shows only the issues a given teammate filed.
Exit Annotation Mode
Click Done in the annotation toolbar or press Esc to exit. Any unsaved pins are saved automatically before the mode closes. Your pins remain visible on the page and appear in the sidebar's issue list. Press V to toggle pin visibility on or off without leaving the view.