Getting Started
Last updated: August 17, 2026
OverlayQA is a UI bug tracker that detects visual and accessibility bugs and collects client feedback on any live page. Capture UI issues on the element, compare designs against live builds, and run accessibility audits from one sidebar. This guide walks you through installing the extension, creating your first project, and opening the sidebar on any page.
Install the Chrome Extension
OverlayQA is available on the Chrome Web Store. Click Add to Chrome and confirm the installation when prompted. The extension works on any website you visit in Chrome.
Try It in the Sandbox
After installing, click the OverlayQA icon in your toolbar (or find it under the puzzle-piece extensions menu). Your first click opens a guided sandbox: a demo page where you can capture your first issue before creating an account. Place a pin on anything that looks off, and the AI writes the issue for you.
Sign Up or Sign In
You don't need an account to start capturing. Pins you save while signed out are stored locally in your browser, then sync to a "Local Captures" project in your account once you sign up. When you're ready, sign up from the sidebar with email or Continue with Google.
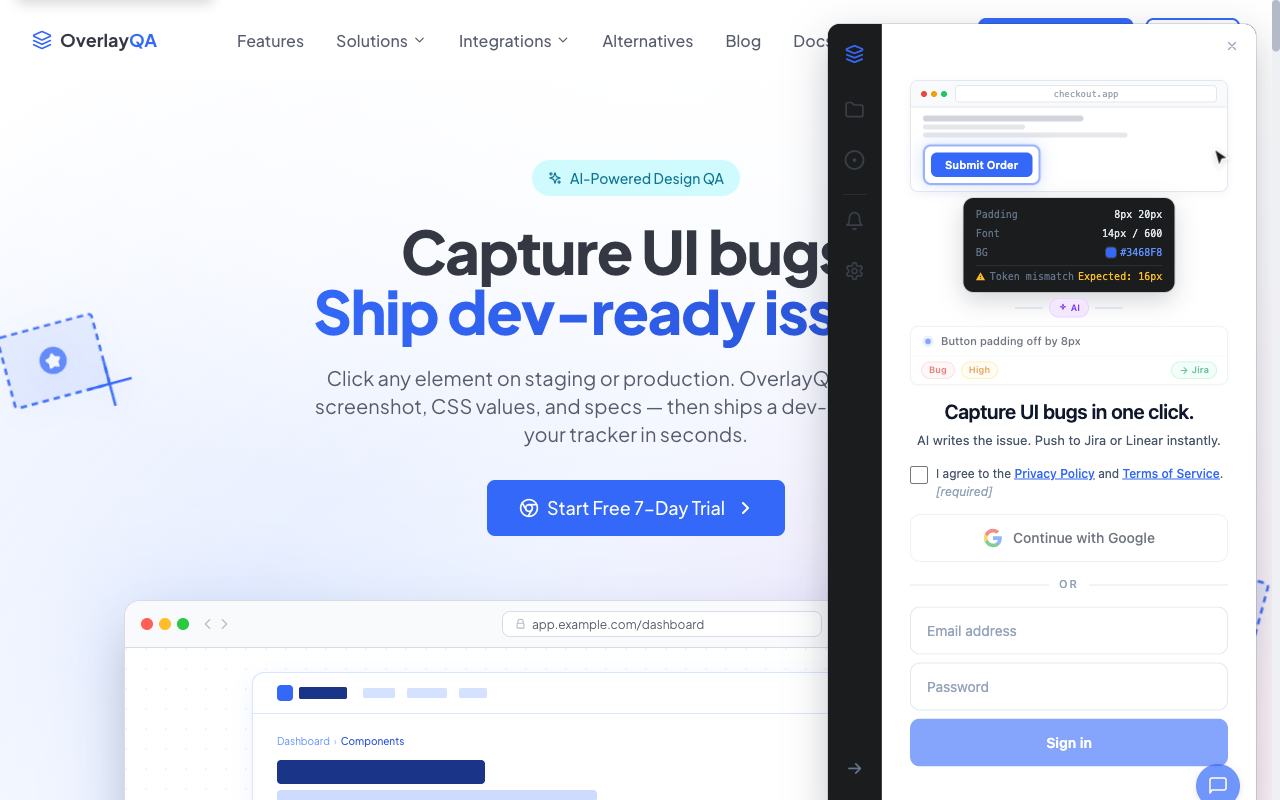
Complete Onboarding
The onboarding wizard walks you through a few quick steps to personalize your experience:
- Company name: Enter your company or team name, or skip it (optional).
- Your role: Select from Designer, Developer, Project Manager, QA Engineer, Founder/CEO, or Agency Owner.
- Your goal: Choose what you want to accomplish: catching design inconsistencies, streamlining feedback loops, replacing screenshot-based bug reports, or collaborating with your team.
- Your first project: Name your project and enter the site URL. A public URL takes you straight to an in-app Team Review of your site to capture your first issue; a local or private URL continues in the extension.
Pin the Extension to Your Toolbar
Keep OverlayQA one click away by pinning it to your Chrome toolbar:
- Click the puzzle-piece icon in Chrome's toolbar to open the extensions menu.
- Find OverlayQA in the list and click the pin icon next to it.
- The OverlayQA icon now appears directly in your toolbar.
Create a Project
Projects organize your issues by site or app. To create one:
- Click the OverlayQA icon in your toolbar.
- Click Create Project.
- Enter a project name (e.g., "Marketing Site") and the base URL of the site you're reviewing.
- Your project is ready. Any issues you create on pages matching that URL will be grouped here.
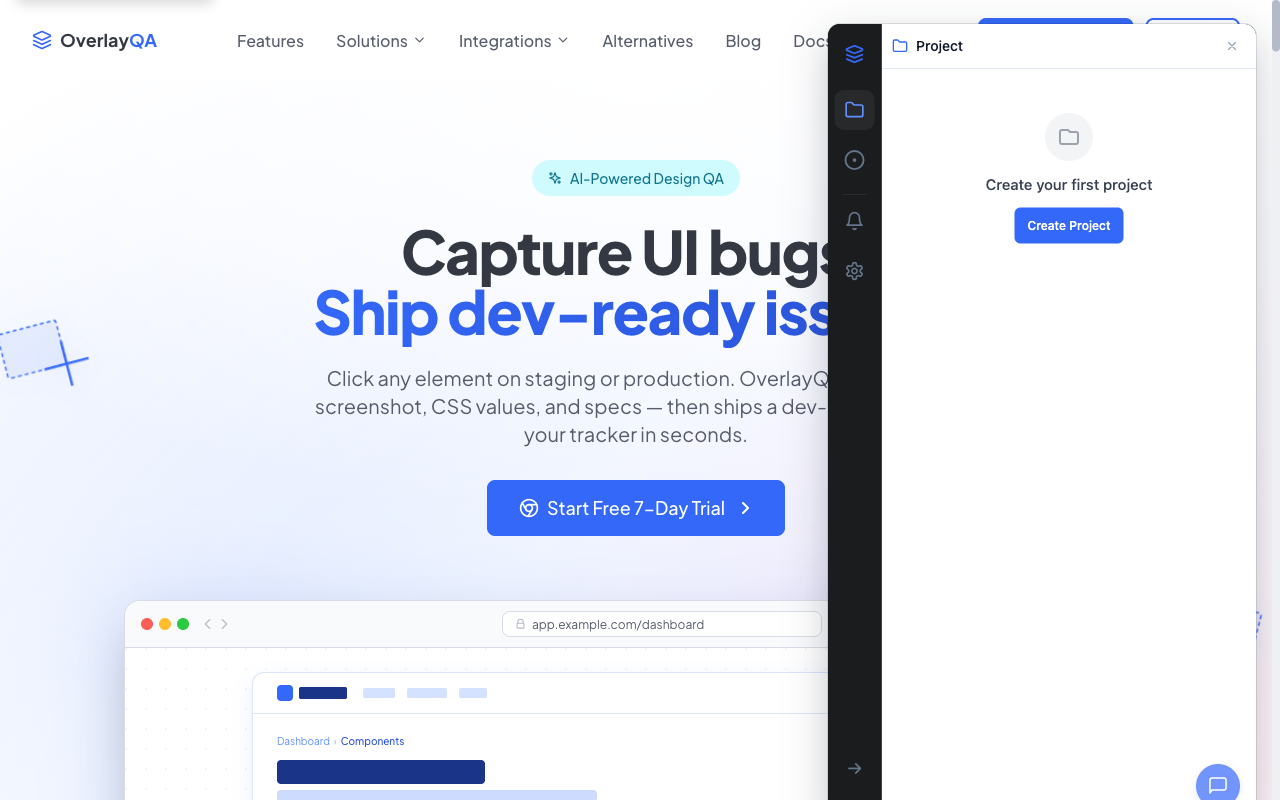
Open the Sidebar
Navigate to any page on your project's site and click the OverlayQA toolbar icon. A sidebar opens on the right side of the page showing your project's issues, workflows, and settings. From here you can create issues, run audits, and start visual comparisons.
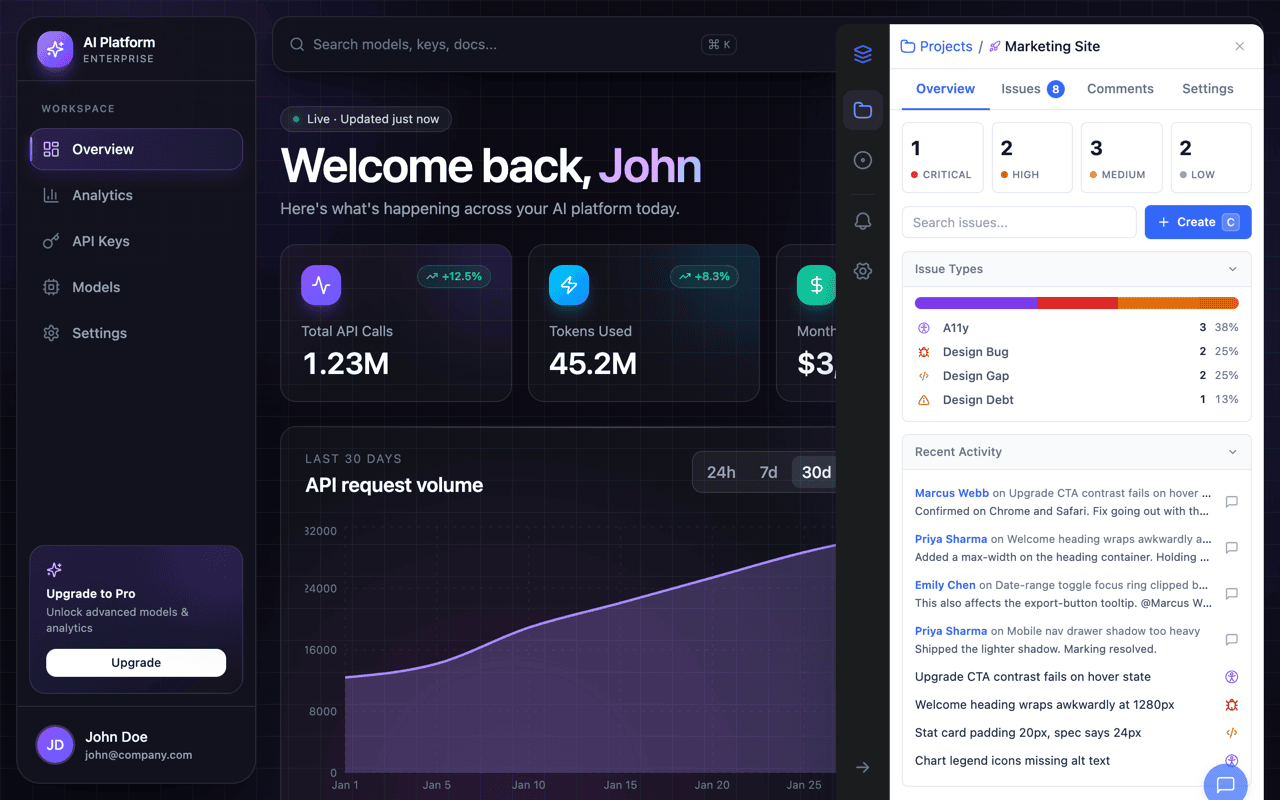
Tip: Press ← to expand the sidebar or → to collapse it without reaching for the mouse.
Next Steps
- Create your first issue by annotating elements on the page.
- Review any URL from the dashboard with Team Review, no extension needed.
- Compare designs against Figma with the Visual Comparison workflow.
- Run an accessibility audit to scan for WCAG violations.