Connect Jira to OverlayQA
Last updated: July 2, 2026
Connecting Jira to OverlayQA lets you export captured issues directly to your Jira Cloud projects. Each exported issue includes screenshots, CSS selectors, computed styles, page URL, viewport size, and browser metadata.
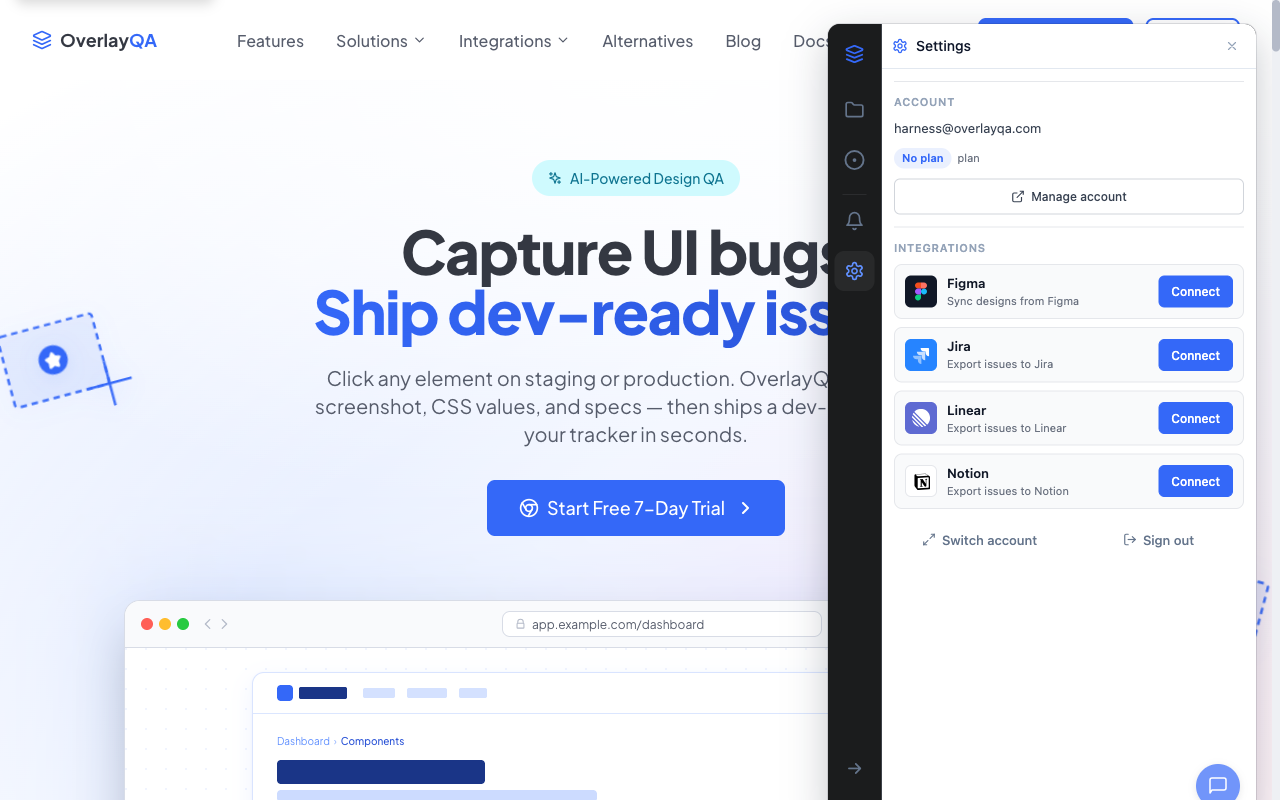
Connect Your Jira Account
- In the OverlayQA sidebar, select one or more issues and click Export.
- Choose Jira as the destination.
- Click Connect to Jira in the export modal.
- A Jira Cloud authorization page opens in a new tab. Approve access for OverlayQA.
- The export modal auto-updates when the connection is detected (polls for up to 2 minutes).
Tip: You only need to connect once. After the initial OAuth authorization, OverlayQA remembers your Jira connection for all future exports.
Configure Your Export
After connecting, configure where issues should land:
| Setting | Details |
|---|---|
| Site | If you have multiple Jira Cloud instances, select which one to use. |
| Project | Choose the Jira project (e.g., "Marketing (MKTG)"). Auto-selects the first project. |
| Issue type | Select Bug, Task, Story, or another issue type. Defaults to "Bug" if available, otherwise "Task". |
What Gets Exported
Each exported Jira issue includes:
| Field | Description |
|---|---|
| Summary | The issue title from OverlayQA. |
| Description | Issue description with page URL, Figma link, browser/OS, viewport, element selector, and computed CSS values. |
| Priority | Mapped from severity: Critical → Highest, High → High, Medium → Medium, Low → Low. |
| Labels | The overlayqa label is applied automatically. |
| Attachment | Screenshot of the captured area or element. |
What Is Not Exported
Note: Exports include computed CSS values from the live page only. They do not include expected design spec values. Assignee, labels, and priority can be set at export via the per-project field picker.
After Exporting
The results screen shows each issue with a clickable link to the created Jira ticket. Issues are marked as exported in the OverlayQA sidebar, and you'll see a warning if you try to re-export the same issue to Jira.
Two-Way Sync
OverlayQA keeps your issues in sync after export. Changes made in Jira automatically reflect in your OverlayQA dashboard:
| What Syncs Back | Details |
|---|---|
| Status changes | When a developer moves an issue to In Progress, Done, or any other status in Jira, the OverlayQA dashboard updates to match. |
| Assignee | Issue assignment in Jira reflects in OverlayQA so designers can see who picked it up. |
| Priority | Priority changes in Jira sync back to OverlayQA severity. |
| Comments | Replies and comments added in Jira appear on the OverlayQA issue thread. |
| Resolution | When an issue is resolved in Jira, OverlayQA marks it resolved with the resolution reason. |
Tip: Two-way sync happens via webhooks. There is no polling delay. Status changes in Jira appear in OverlayQA within seconds.