Connect Notion
Last updated: July 2, 2026
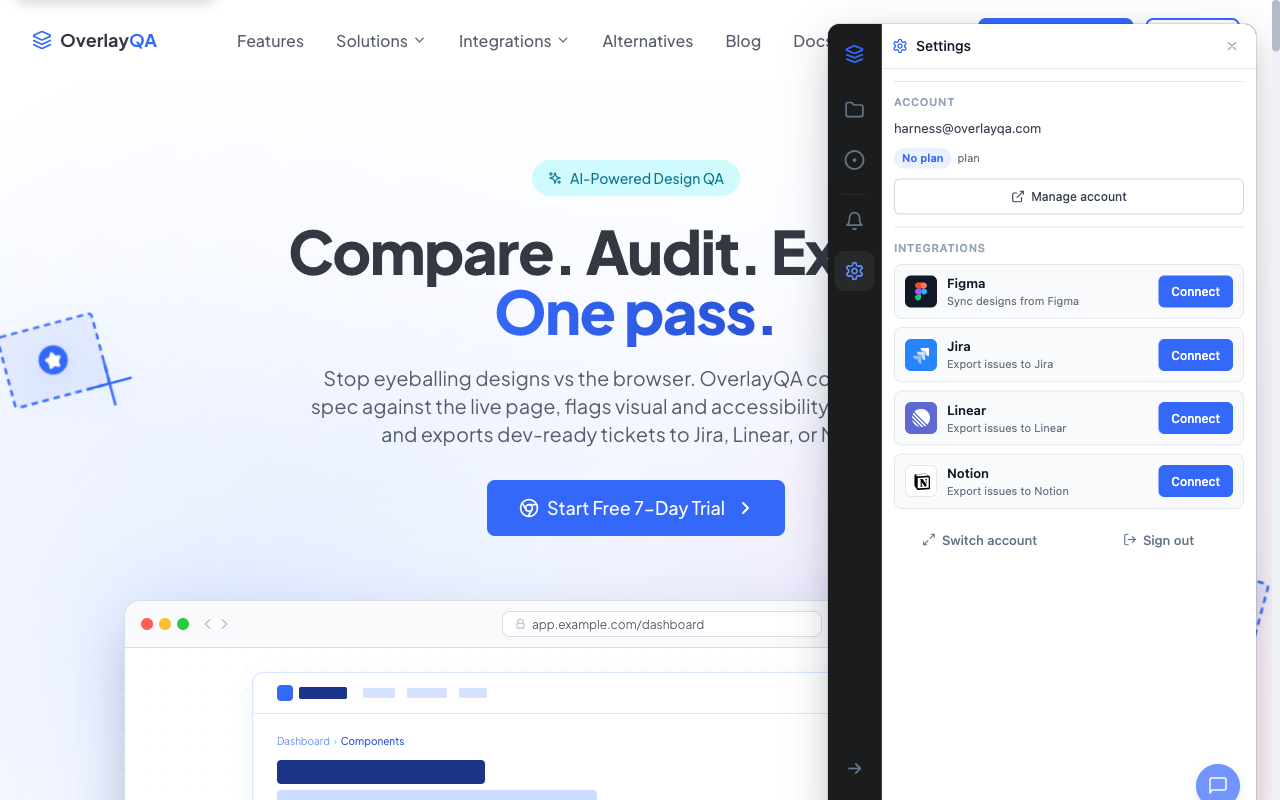
Connecting Notion to OverlayQA lets you export captured issues to a Notion database. OverlayQA auto-creates an "OverlayQA Issues" database in your workspace on first export, so there is no configuration needed.
Connect Your Notion Workspace
- In the OverlayQA sidebar, select one or more issues and click Export.
- Choose Notion as the destination.
- Click Connect to Notion in the export modal.
- A Notion authorization page opens in a new tab. Select your workspace and approve access.
- The export modal auto-updates when the connection is detected (polls for up to 2 minutes).
Tip: You only need to connect once. After the initial OAuth authorization, OverlayQA remembers your Notion connection for all future exports.
No Configuration Needed
Unlike Jira and Linear, Notion requires no additional setup after connecting. On your first export, OverlayQA automatically:
- Creates an "OverlayQA" page in your workspace.
- Creates an "OverlayQA Issues" database inside that page.
- Stores the database reference for future exports.
All subsequent exports add entries to the same database. If the database or page is deleted, OverlayQA recreates them on the next export.
Database Properties
Each issue is created as a Notion database entry with these properties:
| Property | Type | Description |
|---|---|---|
| Name | Title | The issue title from OverlayQA. |
| Severity | Select | Critical, High, Medium, or Low. |
| Type | Select | Design Bug, Design Gap, or Design Debt. |
| Page URL | URL | The page where the issue was found. |
| Figma URL | URL | Link to the associated Figma frame (if linked). |
| Browser | Text | Browser name and version. |
| OS | Text | Operating system. |
| Viewport | Text | Browser viewport dimensions (e.g., "1440x900"). |
| Status | Select | Set to "Open" on creation. |
The issue description and screenshot are added as page content blocks below the properties.
What Is Not Exported
Note: Exports include computed CSS values from the live page only. They do not include expected design spec values. A field picker at export lets you set the fields your Notion database supports; unsupported fields are hidden.
After Exporting
The results screen shows each issue with a clickable link to the created Notion page. Issues are marked as exported in the OverlayQA sidebar.
Two-Way Sync
OverlayQA keeps your issues in sync after export. Changes made to database entries in Notion automatically reflect in your OverlayQA dashboard:
| What Syncs Back | Details |
|---|---|
| Status property | When someone changes the Status select (e.g., Open to In Progress to Done), OverlayQA updates to match. |
| Severity property | Priority changes made in the Notion database reflect in OverlayQA. |
| Comments | Comments added to the Notion page appear on the OverlayQA issue thread. |
Tip: Notion sync is ideal for teams using Notion as a client-facing tracker. Clients can update status or add comments in Notion, and your team sees the changes in OverlayQA without switching tools.